
Happy 21st Birthday to our dear roomie, Valerie! We loooveee you so much!


We decided to dedicate this blog to all things Valerie…
because we can and because we made her a few things!
The first thing Val got to see when she came home from the
concert (her FAVORITE band was playing – what a gift!) was this “Happy Birthday
Val” banner which we’re about to show you how to make. Obviously it doesn’t
have to say Val unless you also have a fantastic person in your life named Val,
or you like the name, or… ehh we’re all out of “or “scenarios.
4 Pieces of 12” by 12” in scrapbook paper (In coordinating colors or all the
same – we used coordinating because it is what we had on hand. This makes 16
flags… calculate for more if your friend has a long name)
Grosgrain Ribbon (to hang the little flags from)
Paper Cutter or Scissors (Paper Cutter is highly
recommended)
Paper Clips
Glue Stick
Pen/Pencil
Letters that spell “Happy Birthday INSERT NAME”(We used Fineliner Script which can
be downloaded at DaFont.com in size 150)
1)
Using the ruler on the paper cutter cut each
piece of scrapbook paper into 6” by 6” squares leaving you with a total of 4
squares per one piece of scrapbook paper.
 |
| 6 " Squares |
2)
Using the ruler on the paper cutter make a small
mark where the 3” mark is on one side of the square.
 |
| Tiny orange line at the 3" mark. |
3)
Line up the top right corner and the 3” inch
mark you made where the blade of your paper cutter runs and cut. Follow the
same step for the other side.
 |
| Corner and orange mark lined up where blade runs. |
4)
Keep doing this for all of the flags.
 |
| Until they all look like this... |
5)
Cut out your letters. We cut ours as squares.

6)
Glue on the letters.


7)
Use the paper clips to attach the flags and
create the banner. We used two paper clips per flag.
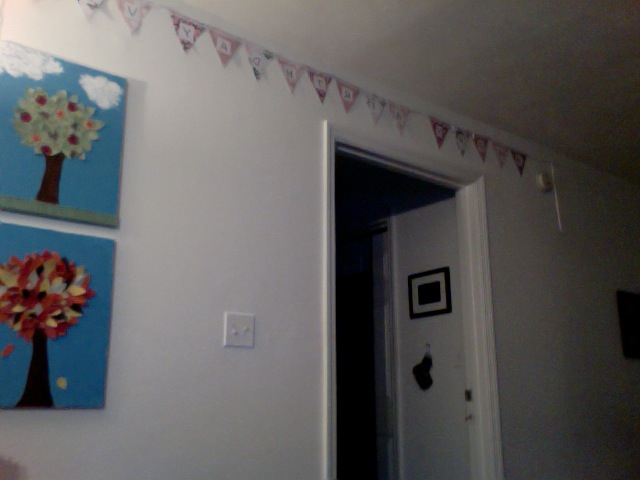
This is what ours looks like all hung up:
 |
| Sorry... this is a WebCam photo :( Camera died... |
Val’s present from Allison was this dress to wear to
football games! It started off as an XXL t-shirt from Wal-mart. Sorry there
aren’t any pictures of the process… it was one of those just go for it
activities. The bottom is leftover “lace” from Allison’s mom. If you are
looking to do something similar to this there are some great tutorials here: http://www.cutoutandkeep.net/projects/how-tos/category/clothing/dresses/page/1

Thanks for being such a great friend and always keeping us
laughing Val! Can’t wait for your party!
Lots of DIY Birthday Love,
Chelsea & Allison
I LOVE YOU GUYS!!!!! <33333
ReplyDelete